How to Install the SkiPulk.com Channel Kit to Attach Poles
Watch a video showing how to install the Channel Kit on the Paris Expedition sled here:
1. Place the backing plate on front corner of sled rim so that the leading edge is about 1-1.25 inch behind the corner holes. (The part of the plate with the single hole toward rear of sled.) Use a marker to mark the holes.
2. After drilling first hole, temporarily insert a bolt to make sure plate does not move as you use it as a template to drill the front two holes. Drill marked locations with 1/4” bit.
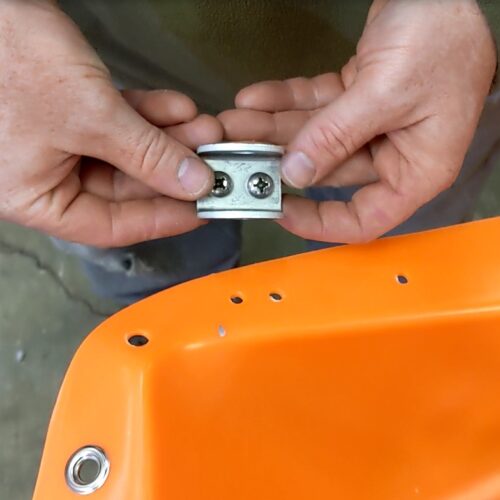
3. Secure the channels with two bolts.
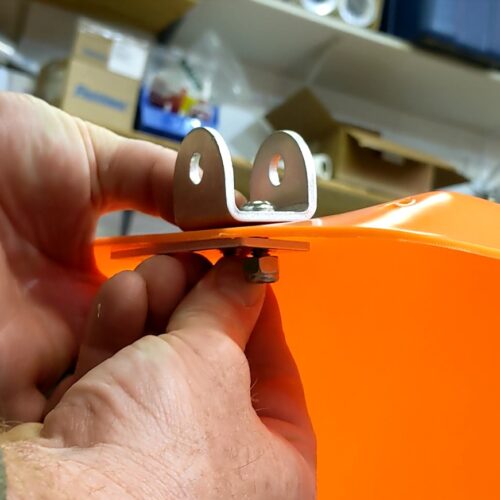
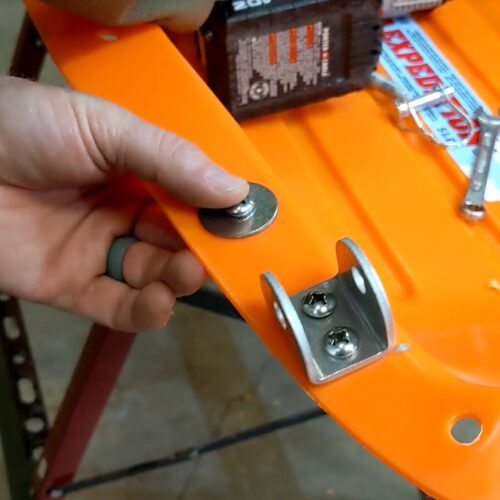
4. Attach backing plate on bottom of sled rim and attach nylon locking nuts.
5. Use a bolt and washer on the rear hole.
6. Tighten the bolts (You will need a Phillips screw driver and 7/16” wrench.)
7. Install 3/8” wirelock pins in the channel.
The SkiPulk.com Channel Kit and Poles can be used on many different sleds shown here.